Every custom bag order begins with a sample — usually several. The sample is where a design stops being a drawing and becomes a physical object you can hold, measure and judge; it is also where the difference between a professional product and a disappointment is decided. Yet sampling is the stage that first-time buyers most often misunderstand: they treat it as a formality to be rushed, or as a single step, when in reality it is a multi-round process with its own economics, its own disciplines and its own failure modes.
This guide covers sampling from the factory floor perspective: why samples exist, the distinct types of samples and what each one proves, what actually happens in a sampling round, what to check on every sample, what sampling costs and how long it takes, and — most importantly — how to run the process so it produces the best product in the fewest rounds. Written for buyers who want to skip the expensive lessons, it turns sampling from a mystery into a method.
What Sampling Is and Why It Exists
Sampling is the process of building physical versions of a product before committing to bulk production. It exists because a bag cannot be fully specified on paper: materials have drape and weight that drawings cannot convey, seams behave differently in three dimensions than in sketches, hardware must be tested in its actual position, and the interaction between material, construction and structure only becomes visible when the object exists. The sample is the bridge between the design’s intention and the product’s reality.
Think of sampling as the risk-transfer stage of the order. Every problem discovered during sampling costs minutes or days and a sample fee; the same problem discovered during production costs a batch of material and labor; discovered at retail, it costs returns, reviews and brand reputation. Sampling concentrates the risk where it is cheapest to fix, and the number of rounds reflects how much risk you choose to retire before production begins.
Sampling also serves a second, equally important function: it creates the reference. The approved sample — the final, signed-off version — becomes the standard against which every production piece is measured. When a factory’s QC checks stitching, when a third-party inspector counts defects, when a customer asks whether the delivered bag matches the product photo, the reference is the approved sample. A product without a properly approved sample is a product without a definition, and disputes follow.
For the buyer, the practical implication is that sampling is not a cost to minimize to zero — it is an investment with a measurable return. The right number of rounds is the number that retires the real risks of your design: not fewer, because the production gamble is expensive; and not more, because every round costs time and money. Knowing which risks each sample type retires is the skill at the center of this guide.
The Sample Family: Development, Sales, Production
Most custom bag projects run through three distinct sample types, and confusing them is a common source of both delays and quality failures. Each type exists to answer a different question.
| Sample type | Question it answers | Built from | Use |
|---|---|---|---|
| Development sample | Does the design work in three dimensions? | First patterns, often economy materials | Checking proportions, construction logic, material behavior |
| Sales / approval sample | Is this the final product? | Production materials and hardware | Photography, buyer approval, sealed quality reference |
| Production (PP) sample | Does the production line reproduce it? | Bulk materials, production line setup | Confirming the line output matches the approved standard |
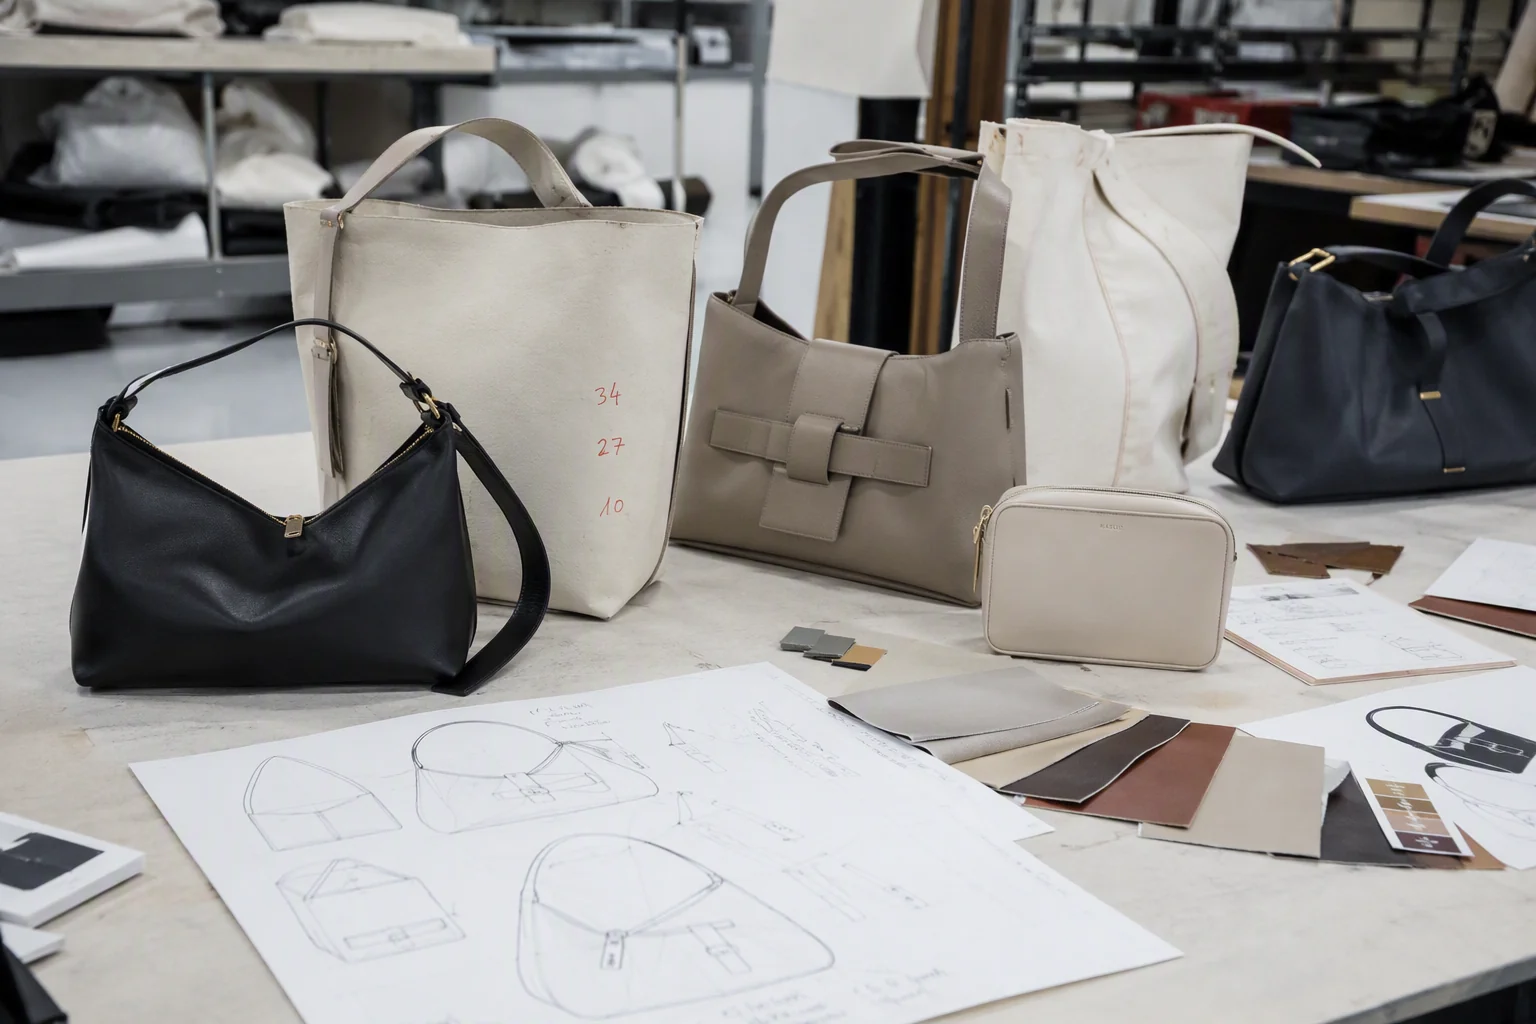
The development sample is the first physical realization — often built with economy materials to test structure without spending on premium materials. It answers design questions: do the proportions work, does the construction logic hold, where do stresses appear? Corrections at this stage are expected, and the buyer’s job is to be specific about what changed and why.
The sales or approval sample is built from the exact production materials and hardware. This is the sample you photograph, show to retailers and approve as the final standard. Its approval is a milestone with contractual weight: from that moment, production must reproduce this sample, and any deviation is a defect. Never approve a sample you are not prepared to receive in bulk — the approval signature is effectively a specification.
The production (PP) sample is the first piece off the actual production line, verifying that the line, the operators and the bulk materials reproduce the approved sample at scale. Many buyers skip it to save a week; experienced buyers never do, because the PP sample is the cheapest insurance against a whole batch built slightly differently from what was approved.
What Happens During a Sampling Round
A sampling round is a short production cycle with its own sequence: preparation, construction, review and revision. Understanding the sequence explains both the timeline and where delays enter.
The round begins with preparation: the sample room receives the patterns, the materials, the hardware and the specification, and the sample maker confirms what is available. Material availability is the most common delay at this point — if a material or component is still in transit or awaiting approval, the round waits. This is why materials are locked before sampling begins, not during it.
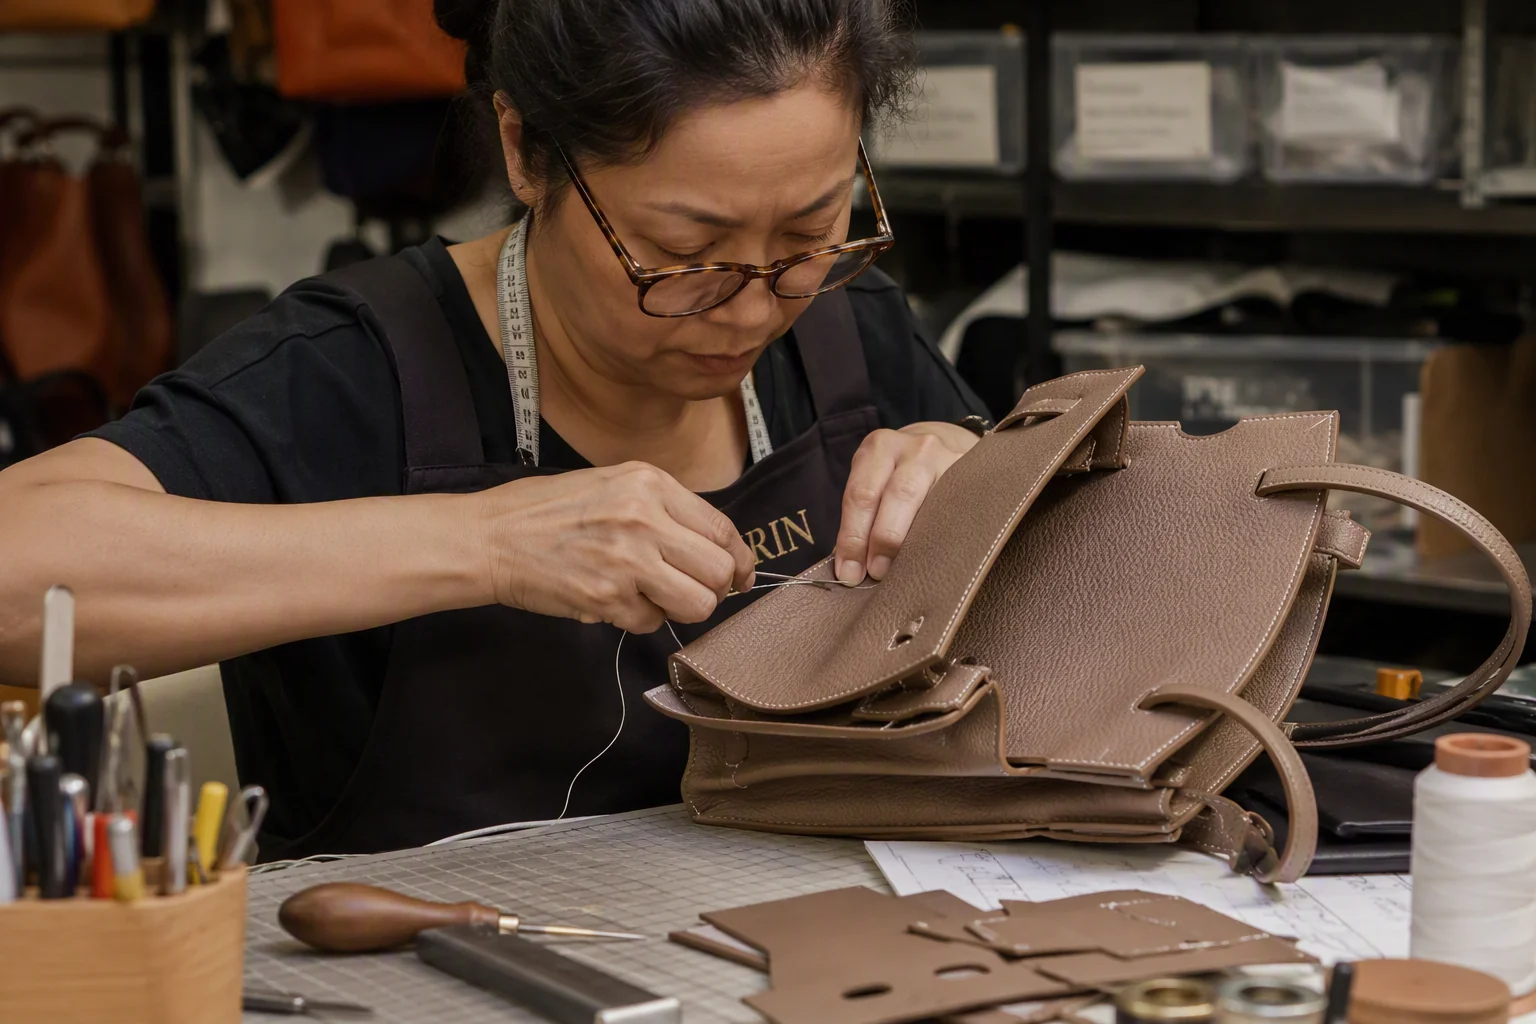
Construction follows: the sample maker sews the bag by hand or with light machinery, following the pattern and spec. A bag sample is built more carefully than production pieces — each seam is deliberate, each component seated precisely — which is why a sample can look better than bulk output. This is the source of the famous “sample vs. bulk” gap, and it is why the PP sample matters: the production line does not have the sample room’s luxury, and the PP sample is where the real production standard is confirmed.
Review is the stage the buyer owns: the sample is examined against the specification and the design intent, measured, tested for function, and judged for appearance. The review should produce a written outcome — approved, approved with changes, or rejected — with specific reasons. The vagueness of review feedback (“doesn’t look right”) is the single largest source of sampling round-trips: each new round waits on the factory interpreting an unclear instruction, and the interpretation is usually wrong.
Revision closes the round: the changes are incorporated into the pattern and spec, and the next round begins. The cycle repeats until the sample is approved. Two practical facts follow: the number of rounds is largely determined by how completely the specification and the feedback are written, and the timeline of a round — typically several days to two weeks — is dominated by the factory’s sample room load, not by the actual sewing time. A factory with a busy sample room quotes longer round times; plan accordingly.
What to Check on Every Sample
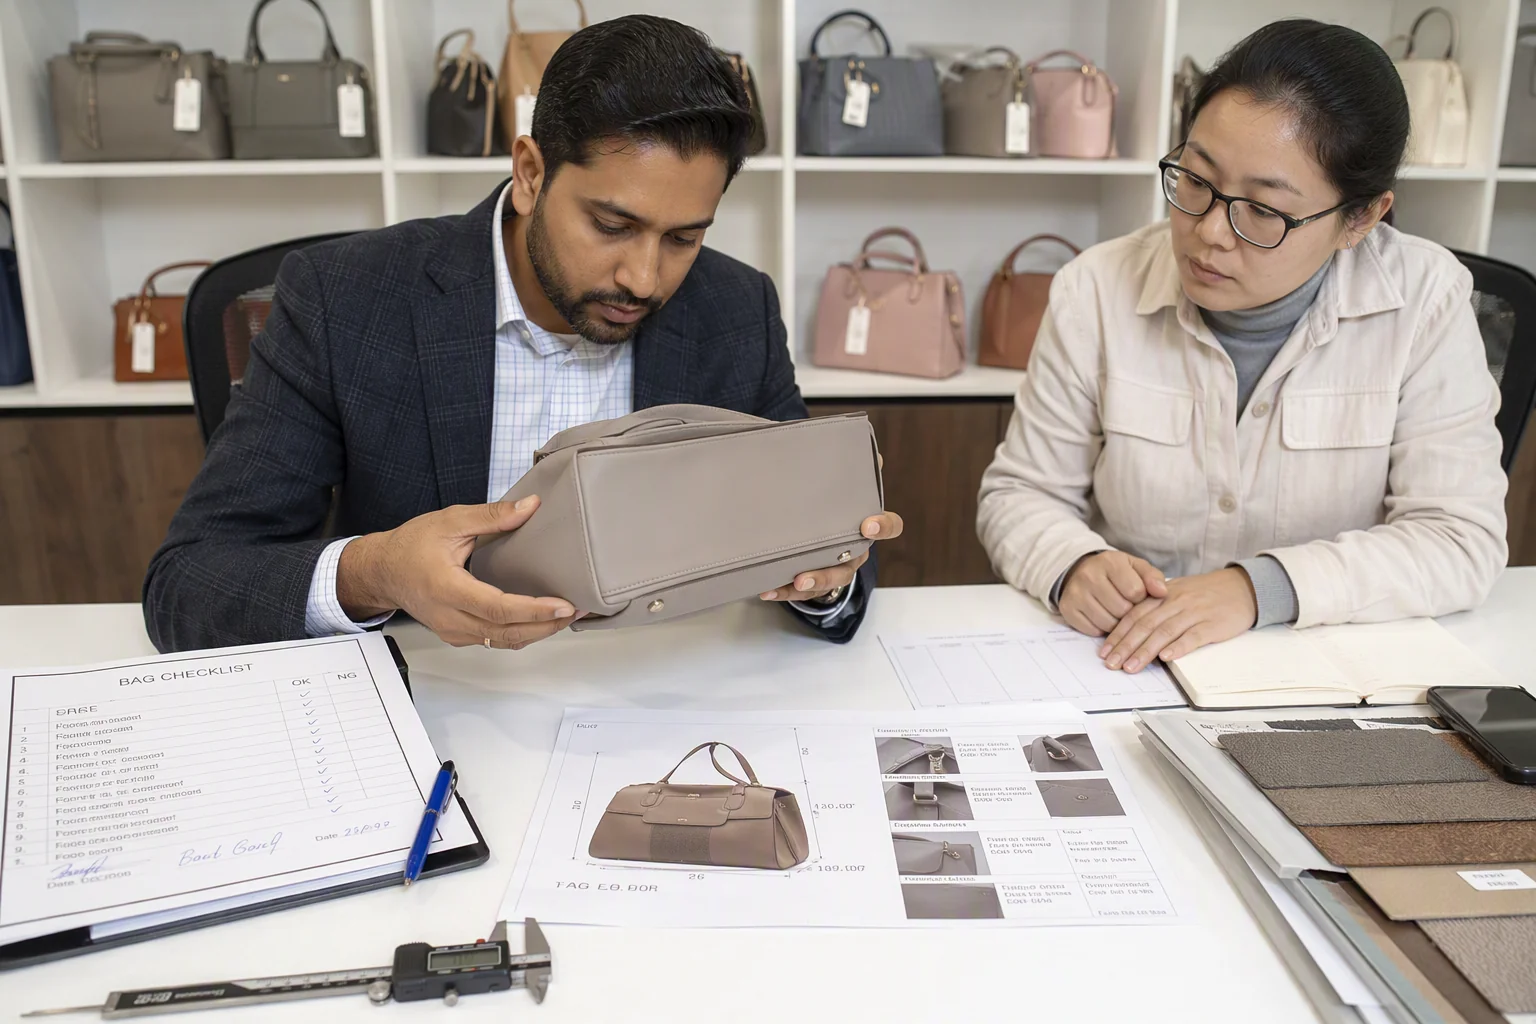
The sample review is where the buyer’s eye and the specification meet. A systematic checklist catches what a casual look misses, and it makes feedback objective instead of impressionistic. The checklist below is the one a professional buyer works through on every sample.
| Area | What to check | Typical issues found |
|---|---|---|
| Dimensions | Length, width, depth, strap length, handle drop against spec | Shrinkage or stretch in material, pattern error |
| Construction | Seam alignment, stitch density, seam allowance, edge treatment | Puckering, skipped stitches, uneven seams |
| Hardware | Zipper function, buckle seating, rivets, magnetic snaps, D-rings | Misaligned hardware, weak closure, wrong finish |
| Materials | Color, texture, thickness against approved references | Color drift, wrong material substituted |
| Function | Load the bag, open/close repeatedly, check strap under weight | Strap strain, zipper snag, pocket tightness |
| Appearance | Silhouette, drape, surface finish, logo placement | Misshapen form, crooked logo, uneven finish |
Two disciplines make the checklist work. First, check against the specification, not against memory: measure the sample, don’t eyeball it, and compare each number to the spec. Second, test the function, don’t just look at it: a bag that looks perfect can fail on load, on repeated closing, or on strap comfort, and those failures are exactly what the function check exists to catch. Load the bag with what it is meant to carry, close and open every closure, and hang it from the strap — the five minutes of function testing catch more production issues than an hour of looking.
The review must produce written feedback. For each issue found, state what is wrong and what the correction is, in terms the factory can act on: “the strap drops 3 cm too low — increase the handle drop by 3 cm,” not “the strap feels off.” Written, specific feedback is what turns the next round from a guess into a fix.
The Cost and Timeline of Sampling
Sampling costs money and time, and both are predictable when you understand the components. Planning for them removes the two most common surprises of the first order.
On cost: sample fees vary widely by factory and complexity — from free (for standard ODM styles, where the factory amortizes development) to a per-round fee that covers materials, sample-room labor and courier. Many factories credit part or all of the sample fee against the bulk order; the crediting terms should be agreed before sampling begins, not negotiated after. A realistic budget for a custom bag development is two to four sampling rounds, and the fees are a small fraction of the cost of a failed production run — which is exactly the risk sampling retires.
| Factor | Typical range | Key variable |
|---|---|---|
| Sample fee per round | Free (ODM) to full cost (custom OEM) | Materials, complexity, crediting terms |
| Round duration | 3–14 days | Sample room load, material availability |
| Number of rounds | 2–4 typical | Spec quality, feedback clarity |
| Courier | 3–10 days international | Express vs. economy, customs |
| Total sampling phase | 2–6 weeks | Sum of rounds plus courier transit |
On timeline: the sampling phase typically consumes two to six weeks of the overall eight-to-twelve-week order cycle, and it is almost always on the critical path — production cannot start until the sample is approved. The timeline is compressible at the margins (faster courier, priority sample slots for a fee), but the rounds themselves follow the factory’s sample room capacity. The practical planning rule is to add one sample round to your expectation: if you expect two, plan for three, and celebrate when you approve in two.
How to Make Sampling Efficient: The Buyer’s Discipline
The number of sampling rounds is not decided by the factory — it is decided by the buyer’s preparation. Six disciplines consistently produce fewer rounds, better samples and faster approvals.
Discipline 1 — Complete the specification before sampling
Every dimension, material, hardware and construction detail resolved before the first round is a correction that never happens. An incomplete spec produces a sample that “isn’t quite right” — and the round-trip to fix it is charged in time and money. The specification is the factory’s only complete picture of your design; make it complete.
Discipline 2 — Lock materials before the sample room starts
Sample rounds stall when materials are unavailable. Confirm the main material, lining, hardware and trims are in hand or on order before the round begins — this single habit removes the most common source of sampling delay.
Discipline 3 — Give feedback in writing, immediately
Review the sample the day it arrives, write the feedback in specific, actionable terms, and send it promptly. Every day of buyer latency is a day the sample room sits idle — and the factory’s next client is booking its capacity meanwhile. Speed of feedback is the cheapest accelerator in the entire process.
Discipline 4 — One change list per round
Batch all corrections into one round instead of sending them one at a time. Each new instruction resets the round; a change list with ten items costs one round, while ten single changes cost ten rounds of waiting.
Discipline 5 — Approve only what you accept
Never sign off a sample with unaddressed reservations — “approved for now, but fix the strap later” is a production defect in waiting. The approval sample becomes the quality reference; approving it with known issues codifies them into the standard.
Discipline 6 — Photograph and archive every round
Keep photos and notes of each sample round with the tech pack. The archive documents the design’s evolution, protects against disputes, and accelerates future developments — the same construction decisions rarely need to be re-learned twice.
These disciplines cost nothing but consistency, and they are the difference between a two-round sampling phase and a five-round one — weeks of calendar time and a meaningful share of the sample budget.
When Sampling Goes Wrong: Common Failures
Sampling failures follow recognizable patterns, and each pattern has a known cause and a known prevention.
Failure 1 — The sample does not match the spec
The sample arrives with different dimensions, materials or construction than specified. Cause: incomplete spec, ambiguous references, or the sample room interpreting a gap in the information. Prevention: complete spec, named material references, and a check that the factory confirms the spec before building.
Failure 2 — Endless revision rounds
Round after round, the sample gets closer but never lands. Cause: unclear feedback, unbatched changes, or an unstable design that keeps moving. Prevention: written, specific feedback; one change list per round; and design freeze before sampling — the design stops evolving once the sample process starts.
Failure 3 — The sample outshines production
The approved sample looks better than the bulk goods. Cause: the sample room’s careful handwork is not reproducible on the production line, and no PP sample was run to catch the gap. Prevention: always request and approve the production sample; judge the product by the PP sample, not the hand-made one.
Failure 4 — Materials swapped without notice
The factory substitutes a material “equivalent” to the one specified. Cause: availability pressure and weak approval discipline. Prevention: written material references, an approved swatch sealed at the start, and an explicit rule that no substitution happens without written approval.
Failure 5 — The approved sample cannot be reproduced
Later orders drift because the approved sample was never documented. Cause: no written record of what was approved and how it was built. Prevention: archive the tech pack, the photos, the material references and the approval notes — the sample is the reference, and the file is how you keep it reproducible.
Every failure listed is preventable with the disciplines above. When a sampling problem appears, the professional response is not to blame the factory — it is to find which discipline broke and reinstate it.
Sampling for Different Bag Types: What Changes
The sampling principles are universal, but each bag category adds its own testing emphasis — and knowing which risks dominate your category sharpens the review.
Handbags: the emphasis is on proportion, drape and hardware elegance. Check the silhouette from every angle, the handle drop against the intended carry style, and the closure’s ease of use. A handbag that looks right in photos can hang wrong on the shoulder; the function check should include the carry position, not just the tabletop view.
Backpacks: the emphasis shifts to structure, load and stress. Sample testing should load the backpack with the weight it is meant to carry, check the strap attachment points, the base construction and the zipper under tension. Backpacks fail at seams and strap junctions before anywhere else, so the review concentrates there.
Totes and work bags: the emphasis is on tear resistance and the handle system. Test the handles under the bag’s full intended load, check the base corners, and verify the lining takes the same stress as the outer. Totes are carried heavy and put down hard; the sample must survive both.
Travel bags: the emphasis is on wheels (where fitted), telescopic handles, zipper durability and structural integrity under handling. The sample review should simulate the rough treatment of baggage handling, not the showroom.
Small leather goods (pouches, wallets, clutches): the emphasis is on precision — stitch density, edge finishing and hardware function at small scale, where every flaw is magnified. Inspect the small goods sample with a closer eye than a large bag.
Whatever the category, the rule is the same: test the sample the way the product will actually be used. The showroom look sells the first bag; the use-test decides whether the tenth customer ever happens.
Reviewing Samples Remotely: Photos, Video and Trust
Most custom bag projects are managed remotely — the buyer reviews samples through photos and video, not in the sample room. Remote review adds a layer of discipline: the sample cannot be touched, so the review must extract more information from fewer senses.
The foundation of remote review is a systematic photo and video brief for the factory: the sample photographed on plain backgrounds from fixed angles (front, back, sides, interior), with a ruler in frame for scale; close-ups of the seams, hardware, logo and edge treatment; a video showing the zippers closing, the hardware moving, and the bag loaded and carried. A factory that produces this documentation consistently is demonstrating both capability and confidence — and the documentation becomes part of your archive.
Measurement verification is the gap remote review must close actively. Ask the factory to measure and report the key dimensions against the spec on a checklist, and spot-check against your own samples or the documented photos where possible. Color is the hardest element to judge remotely — lighting shifts everything — so color should always be approved against a physical swatch or a calibrated reference, never from a screen alone.
Finally, build the relationship layer: a factory that communicates honestly about sample issues — reporting what is wrong before you ask — is a partner you can review remotely with confidence. The documentation habits, the honest reporting and the speed of response are the remote equivalent of walking the sample room, and they are every bit as important as the sample itself.
The Sample as a Sales Tool
The approved sample does double duty: it is the production reference, and it is your most effective sales asset before the bulk order ships. Brands that treat the sample only as a quality gate are leaving revenue on the table.
Retail buyers decide on physical products, and nothing sells a bag like the actual bag. The approval sample — built from production materials, finished to standard — is the object you take to wholesale meetings, photograph for listings and send to key accounts. Ordering two approval samples instead of one is standard practice for this reason: one remains as the sealed quality reference with the factory, the other travels as the sales sample.
Photography deserves special attention. The product photography from your approved sample becomes the listing images, the campaign visuals and the packaging artwork — and it is far cheaper and more accurate to shoot the sample than to wait for bulk goods. Schedule the photography at sample approval, not after production, so the marketing assets are ready when the stock lands.
For pre-order and crowdfunding models, the approved sample is the proof that makes the campaign credible — buyers pledge against demonstrated physical product, not renders. And for wholesale, the sample in the buyer’s hand converts a catalog conversation into an order decision. The lesson is consistent: the sampling phase is not the end of the design process — it is the beginning of the sales process, and planning for both uses of the sample makes the phase pay for itself.
FAQ
How many samples do I need before bulk production?
Typically two to four rounds: a development sample to validate the design, an approval (sales) sample built from production materials, and a production (PP) sample from the actual line. The exact number depends on design complexity and how completely the specification and feedback are written.
Are sample fees charged and can they be credited?
Sample fees vary — standard ODM styles are often free (amortized by the factory), custom developments are charged per round. Many factories credit part or all of the fee against the bulk order; agree the crediting terms before sampling begins.
How long does the sampling phase take?
Realistically two to six weeks, depending on the number of rounds (3–14 days each), the factory’s sample room load, and international courier transit. The sampling phase is almost always on the critical path to production.
What is the difference between a sample and a prototype?
In bag manufacturing the terms overlap in practice: the prototype is the first functional build used to validate construction (the development sample), while the approval and production samples are closer to the final product. The distinction that matters is which stage each sample represents, not the label.
Should I approve a sample with minor issues?
No — approve only what you will accept in bulk. The approved sample becomes the quality reference for production and inspection; approving it with known issues codifies those issues into the standard. Fix them in a round, not in a warehouse.
Can I request changes to the production sample?
Yes, but at a cost: changes at the PP stage mean the production line adjusts, materials may need reordering, and the schedule moves. The PP sample is the last free checkpoint — after approval, changes are rework. This is why the design freezes before sampling.
Why does the bulk product sometimes differ from my sample?
The most common cause is the sample room’s hand-crafted quality versus production-line reproducibility. The cure is a production sample built on the actual line and approved before full production — the PP sample makes the bulk standard visible while the fix is still cheap.
Can the factory ship the bulk order before I approve the sample?
You can authorize it, but it is a high-risk shortcut: without an approved sample, production has no locked reference, and any deviation becomes a dispute. Professional practice is to approve the sample — including the production sample — before full production begins.
Who pays for the sample courier?
Typically the buyer for international courier, unless otherwise agreed — it is standard for the buyer to cover shipping costs of samples. Clarify this in the sample request, along with any crediting terms for the sample fee itself.
Next Steps: Sample with Method, Not Hope
Sampling is where the quality of your product is decided — not at final inspection, not at the factory’s machinery, but in the specification you write and the feedback you give, round by round. The brands that ship excellent products on schedule are not the ones that skip sampling; they are the ones that run it as a method: complete specifications, locked materials, immediate written feedback, batched changes, and the production sample as the final gate.
Planning a custom bag project and want to see how professional sampling works before you commit? Contact info@gionar.com to discuss your design and request a sample. Explore our custom bag manufacturing services and custom backpack manufacturing to see how we run sampling — from first sketch to approved production sample.