- Why Quality Control Decides a Bag Brand’s Future
- The QC Framework: Policy to Daily Checks
- Building the QC Plan: The Document That Runs Orders
- Choosing Inspection Points: When to Check
- Setting Standards: Specs, Samples and AQL
- Working with Your Factory: Audits and Feedback
- Defect Management: Data, Root Cause, Correction
- Scaling QC as Your Brand Grows
- FAQ
Why Quality Control Decides a Bag Brand’s Future
Every bag brand begins with a product and a promise. The product is designed, sampled and approved; the promise is what customers expect when they unbox it: the right shape, the working zipper, the stitching that holds, the color that matches the catalog. Quality control is the system that keeps the promise true, order after order, and its absence is the fastest route from a growing brand to a reputation problem.
The economics of quality are unforgiving at scale. A single defective bag returned by one customer costs the refund, the shipping, the handling time and the goodwill. When the same defect pattern repeats across a batch of two thousand bags, the cost multiplies silently: replacements, discounts to retailers, chargebacks, and the slow erosion of reorder rates. Industry benchmarks consistently show that fixing a defect at the source costs a fraction of what it costs after shipment — often one-tenth or less — which is why quality programs focus on prevention and early detection rather than on sorting failures at the end of the line.
For a brand working with overseas manufacturers, quality control also serves a second purpose: it is the communication channel that turns your expectations into the factory’s daily behavior. A factory that receives a clear QC plan, agreed standards and scheduled inspections produces to those standards; a factory that receives only purchase orders produces to its own convenience. The difference shows up in your defect rate, your returns and your margin — which is why setting up quality control is not an administrative task but a strategic one.
This guide walks through a complete quality control setup for a bag brand: the framework, the documents, the inspection points, the standards, the factory relationship, the defect loop and the path to scale. It is written from the manufacturer’s side of the table, so it tells you not only what to implement but what factories actually respect, measure and respond to.
The QC Framework: From Policy to Daily Checks
A quality system is not a single inspection; it is a stack of layers, each catching what the layer above missed. The stack works from the top down: the policy sets the intention, the plan defines the execution, the inspections verify the output, and the data closes the loop.
| Layer | What it contains | Who owns it | Output |
|---|---|---|---|
| Quality policy | Brand standards, non-negotiables, tolerance philosophy | Brand owner | One-page policy document |
| QC plan per order | Materials, specs, checkpoints, AQL, packaging rules | Brand + factory QC | Approved QC plan before production |
| Incoming checks | Material verification against approved swatches | Factory QC / third party | Material release or rejection |
| Inline checks | Process checks at cutting, sewing, assembly, hardware | Factory line QC | Corrected processes, fewer escapes |
| Final inspection | AQL sampling, defect counting, verdict | Third party or brand rep | Inspection report, ship or hold |
| Data loop | Defect records, root causes, corrective actions | Brand + factory | Fewer defects next order |
The layers matter because no single check is sufficient. A final inspection catches defects before shipment, but it cannot fix the 90 percent of defects that already happened in production — it can only count them. Inline checks catch problems while they are cheap to correct, but they need trained eyes on the line. The policy and the plan give both the factory and the inspectors the reference they work against. Brands that skip the top layers and jump straight to final inspections get the appearance of quality control — a report card — without the improvement.
A practical way to start is the quality policy: one page that states your non-negotiables. It names the defects that are never acceptable (broken zippers, detached straps, hazardous materials), the tolerances you will allow (minor color variation within an approved range), and the verification you require (third-party inspection on every order above a stated quantity). The policy becomes the spine of every QC plan, and it prevents the most common failure: negotiating quality away order by order until the standards have silently drifted.
Building the QC Plan: The Document That Runs Orders
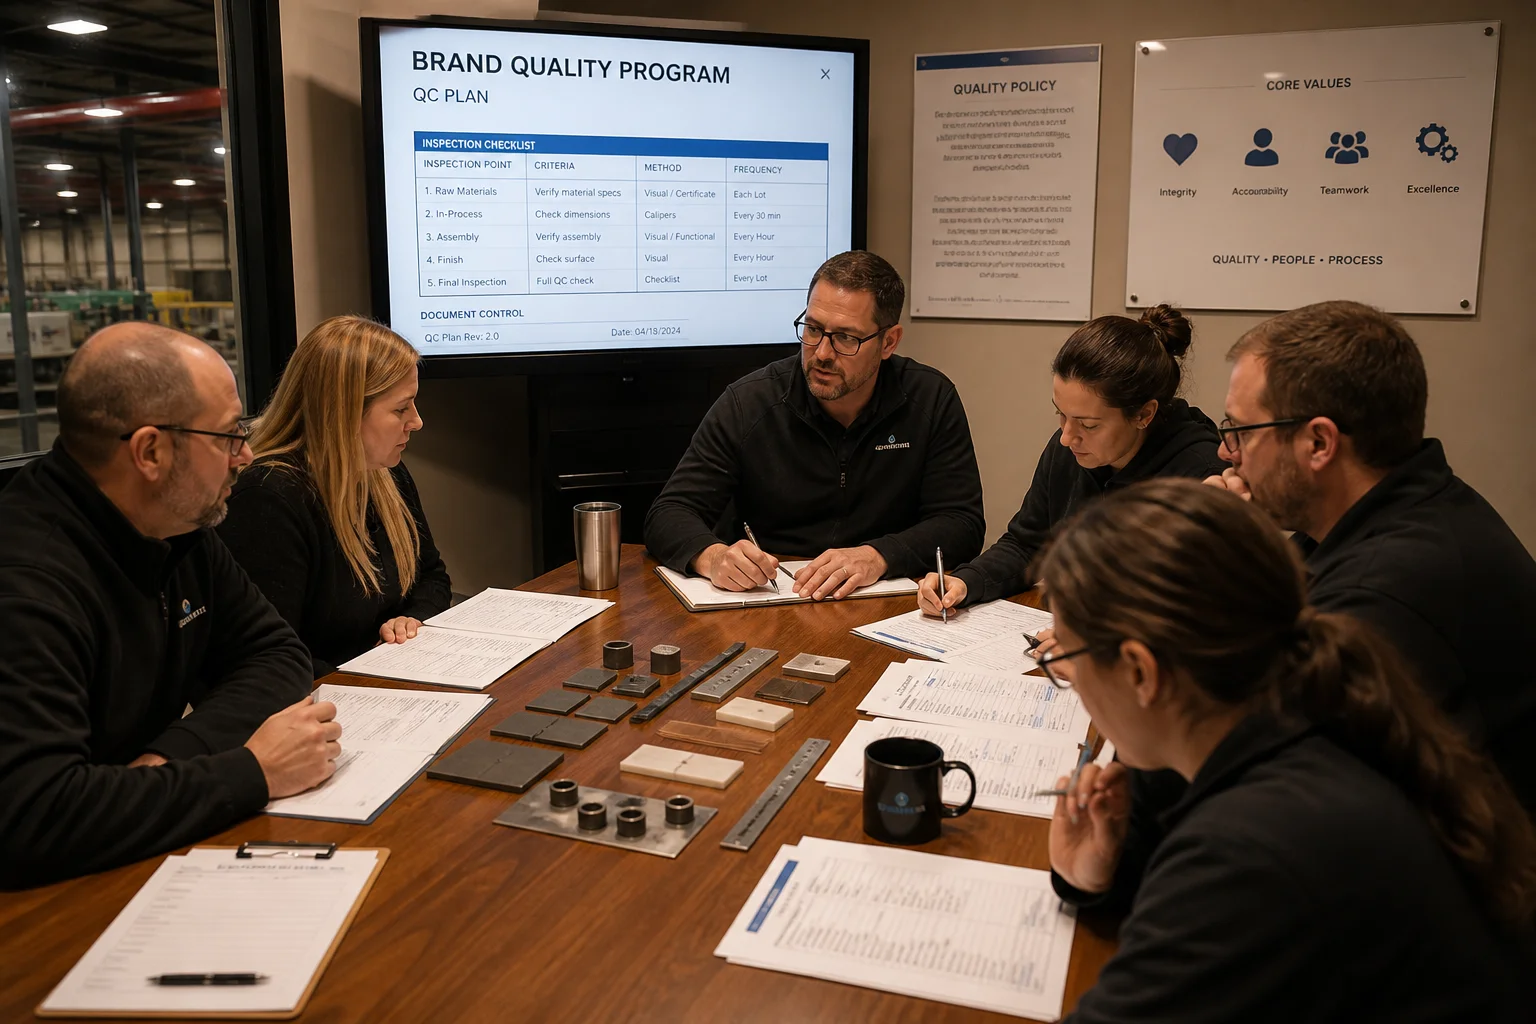
The QC plan is the operational translation of the policy — a per-order document that tells everyone exactly what will be checked, how, when and against what. It is written before production starts, approved by both sides, and referenced at every inspection. A complete plan for a bag order contains six sections.
The first section is the product baseline: the approved sample, the specification sheet with all dimensions, materials, hardware and construction details, and the color references. This baseline is the standard of truth — the inspectors compare production against it, and disputes are resolved by it. The second section is materials: the approved swatches for each component (outer, lining, webbing, hardware), the material tests required (color fastness, abrasion, chemical compliance), and the acceptable tolerance for shade variation between the swatch and the production material.
The third section is the inspection schedule: the checkpoints with dates or production stages — incoming material check, cutting check, sewing check, hardware check, final inspection — and who performs each one. The fourth section is the AQL settings: the inspection level, the defect classification (critical, major, minor) with examples specific to your bag, and the accept/reject numbers. The fifth section is packaging and labeling: inner packaging, carton construction, carton markings, quantity per carton, and any retail-ready requirements. The sixth section is the non-conformance procedure: what happens when a check fails, who decides, and the rework and re-inspection rules.
The QC plan is also the negotiation document. When you send a factory a complete plan, you signal that quality is managed, not hoped for; when the factory returns comments and requested adjustments, you learn its actual capabilities before production. A plan that both sides sign at the sampling stage prevents the classic conflict: the buyer expecting retail-grade finish while the factory produced to “good enough” because no standard was stated in writing.
Choosing Inspection Points: When to Check
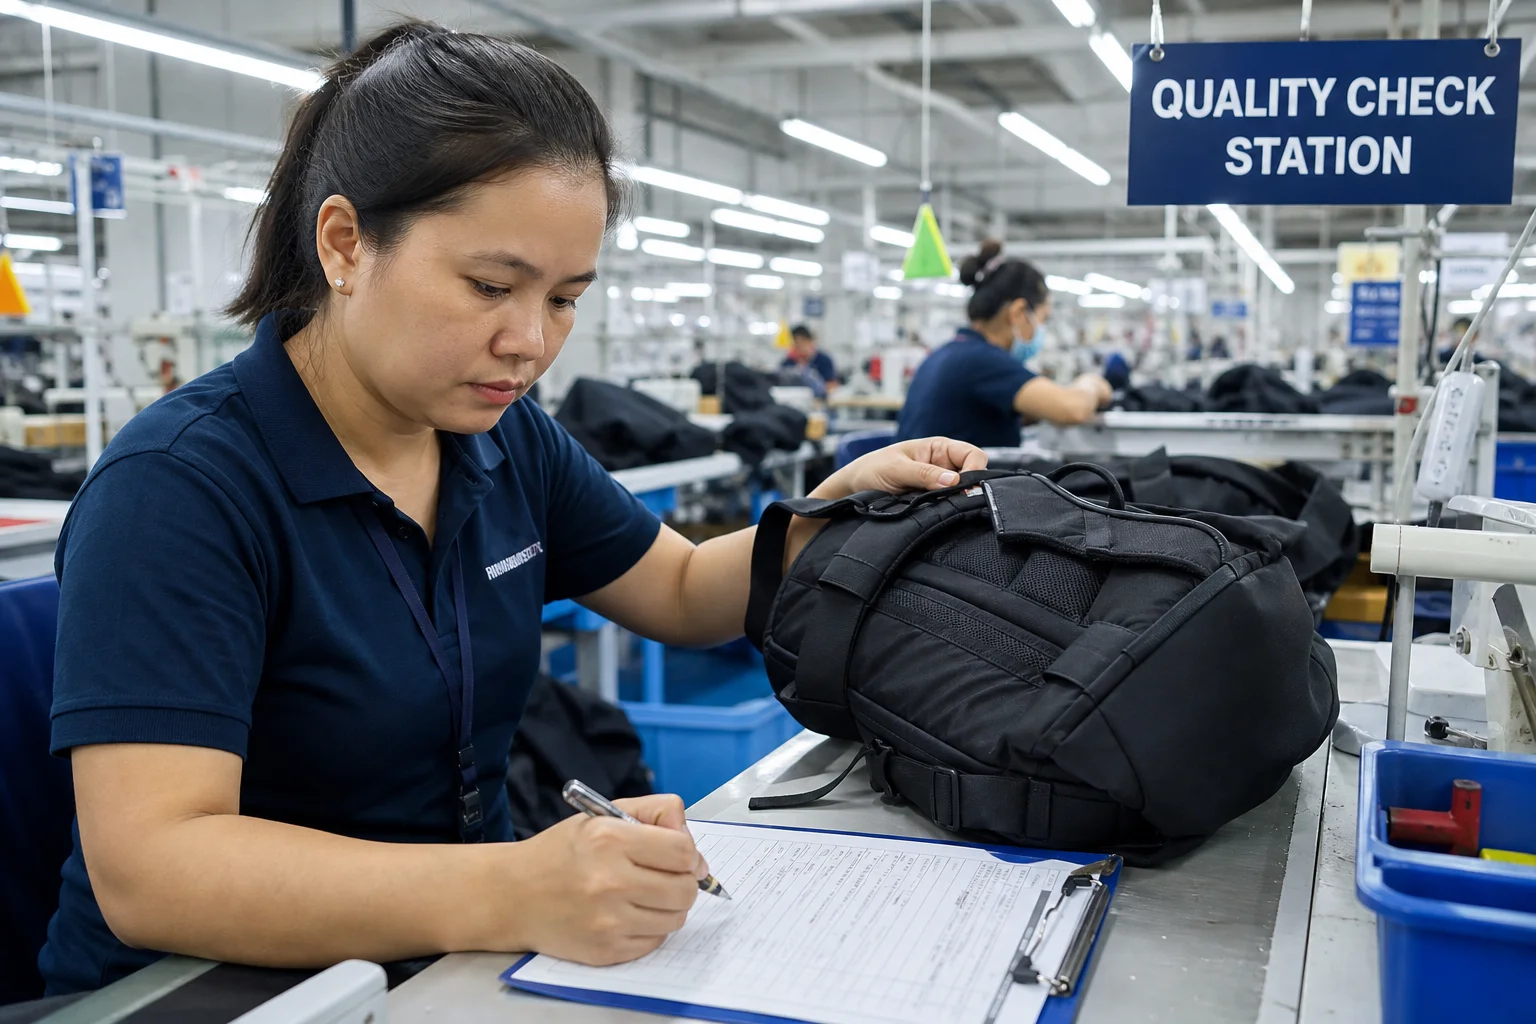
Inspections are most valuable where defects are most likely and most expensive to fix. For bags, the practical inspection map has five points, each with a specific purpose and a specific cost profile.
Point 1 — Incoming materials. Before cutting, verify that the material matches the approved swatch: shade, thickness, hand feel, surface defects, and test reports for chemical compliance. This is the cheapest point to catch a bad material — a rejected roll costs the material, not the production hours spent on it. Point 2 — Cutting. Spot-check pattern placement, grain direction, and cutting accuracy; misaligned cutting propagates through every downstream step. Point 3 — Sewing. This is where most bag defects are born: skipped stitches, wrong tension, mismatched panels, weak bar-tacks. Inline checks during sewing catch them while rework is minutes, not days. Point 4 — Assembly and hardware. Verify that components are installed correctly, hardware functions, zippers run smoothly and closures align. Point 5 — Final inspection. The AQL sampling of the finished, packed goods — the gate before shipment and the document that releases payment terms.
The schedule question is how much to check at each point. A practical default for a small-to-mid brand: full material check on every order, cutting and sewing checks on the first production run and on any style change, and a third-party final inspection on every order. As your defect data accumulates, you can shift weight — increasing checks where your history shows problems, reducing where it shows none. The data-driven approach both tightens quality and keeps inspection costs proportional to risk.
Remote buyers cannot be on the floor for every check, which is why the schedule should name who performs each check and what evidence they produce: photos, checklists, counts. The factory’s QC team performs the inline checks and records them; the third-party inspector performs the final inspection and files a report. Your role is to verify the evidence, review the reports, and follow up on deviations — a system that works as well from another country as it does from the factory’s parking lot.
Setting Standards: Specs, Samples and AQL
Standards are the contract of quality — the shared reference that lets a factory in one country build to a brand’s expectation in another. Three documents carry the standards: the specification, the approved samples, and the AQL table.
The specification is the written truth: every dimension with tolerances, every material by name and reference, every construction detail from seam allowance to thread type, every hardware item with finish and function. A good spec removes judgment calls. When the spec says the handle drop is 28 cm plus or minus 1 cm, the inspector measures against 27-29 cm, and there is nothing to argue about. When the spec is silent, the factory’s convenience becomes the standard — and that is where drift begins. The most valuable habit a brand can build is writing the spec before sampling, then treating the approved sample as the physical reference of the same document.
The approved samples add what words cannot: the hand feel, the drape, the finish level, the look of the stitching, the sound and action of the zipper. Keep three sets: one with the factory for production reference, one with your inspector for comparison, and one in your office as the master. Every inspection compares production against the sample, and the sample is the tie-breaker whenever the spec and the goods disagree on a subjective point. This is why approving samples without careful review is the most expensive shortcut in the process — the sample becomes the standard, and if the sample was wrong, production inherits the error.
AQL (Acceptable Quality Limit) turns the standard into a decision rule. Instead of “the factory should do better,” AQL says: from a batch of this size, inspect this many pieces; if the critical defects exceed zero, or the major defects exceed this count, or the minor defects exceed that count, the batch fails. The standard table for bags follows the industry convention — critical defects are never accepted, major defects at AQL 1.0 to 2.5, minor defects at AQL 2.5 to 4.0 — but the right settings for your brand depend on your market and your product. A premium retail line should set tighter limits than a promotional line, and the settings should be written into every QC plan rather than assumed.
Three practical rules make standards stick. First, define defects with examples: “minor: loose thread end under 1 cm, not affecting function” is checkable; “minor: small cosmetic issue” is not. Second, include the standard in the QC plan and confirm it with the factory before production — a standard revealed at final inspection is a conflict, not a standard. Third, review standards periodically against your actual return and defect data, tightening where your customers’ complaints tell you the market demands more.
Working with Your Factory: Audits and Feedback
Quality control is a relationship before it is a procedure. The factory has its own quality staff, its own habits and its own incentives; your system works by aligning their behavior with your standards, which requires communication, verification and consequences delivered consistently.
The first pillar is a factory audit before the first order. The audit verifies the factory’s claims about its capabilities: the QC team’s size and training, the presence of inspection checkpoints in the workflow, the calibration of measuring equipment, the handling of defective goods, and the record-keeping that proves processes are followed. The audit serves two purposes — it selects good factories and it signals to the factory that you verify, which changes how it prepares your orders. The audit scope can be a full social-and-technical audit for new factories or a lighter quality-only audit for established partners.
The second pillar is structured feedback after every order. The inspection report is the raw material; the feedback turns it into action. Send the factory a short post-order review: the defect counts by category, the photos of the worst defects, the root causes you believe are responsible, and the corrective actions you expect before the next order. Factories respond to specifics — a request to “improve sewing quality” produces nothing, while “the bar-tack at the strap joint failed on 3 of 125 samples; please verify thread count and tension, and confirm the fix on the next sampling” produces a verifiable change. The review should also acknowledge what went well, because quality improvement is a partnership, not a one-way demand.
The third pillar is consequences, applied predictably. A failed final inspection should have a defined response: rework at the factory’s cost, re-inspection at an agreed rate, and — for repeated failures — a review of the relationship. The predictable consequence is what makes the QC plan credible; a plan without consequences is a suggestion. The consequence does not need to be harsh; it needs to be consistent, because consistency is what teaches the factory that your standards are real.
Every bag that reaches your customer passed through the hands of the factory’s QC, your inspector and your own review. The question is not whether quality is checked — it is whether the checks are aligned on the same standards, the same evidence and the same consequences.
Defect Management: Data, Root Cause, Correction
Defects are information. Every defective bag that reaches inspection carries data about where the process broke, and a brand that collects that data systematically reduces defects order after order — while a brand that treats defects as bad luck repeats them.
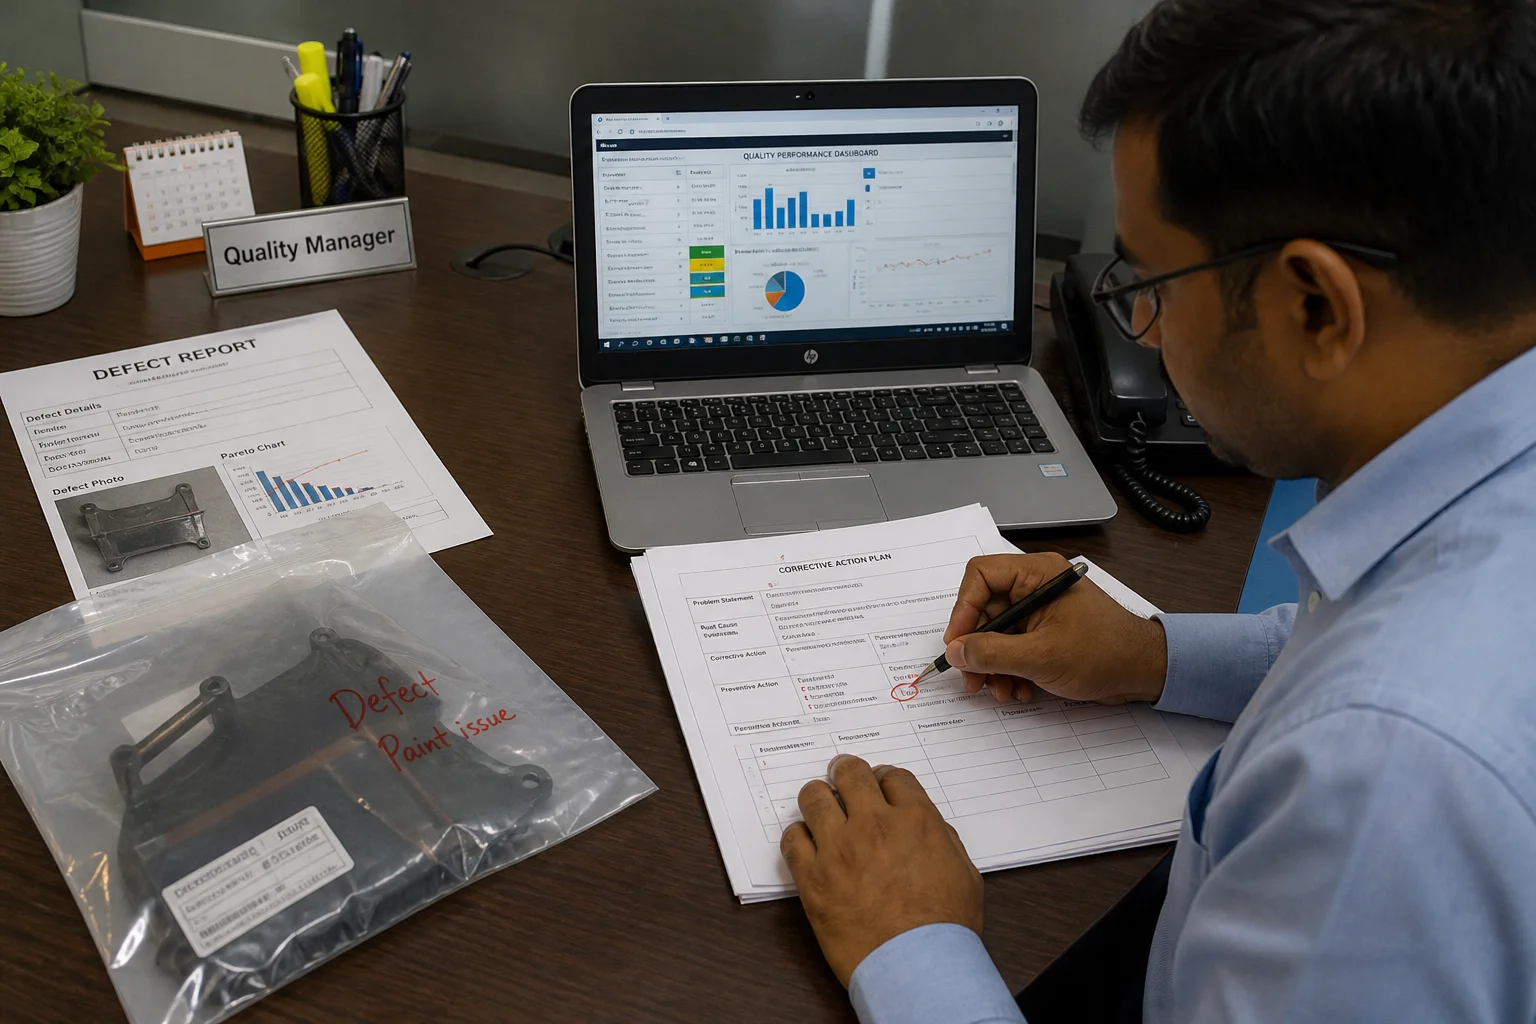
The data starts with classification. Every defect found in inspections is recorded with its category (material, stitching, hardware, construction, packaging), its class (critical, major, minor), the inspection point where it was found, and a photo. This classification feeds a simple defect register — a spreadsheet is enough — that shows the defect rate per order and the top defect categories. The register answers two questions each quarter: are defects trending down, and where are they concentrated? Without the register, both questions are guesswork.
Root cause analysis asks why each top defect happens. A bar-tack failure may be weak thread, wrong tension, a skipped reinforcement or a rushed operator; a color mismatch may be a material substitution, a dye lot change or a fading test failure. The analysis method does not need to be formal — asking “why” three times, with the factory’s QC manager, usually reaches the process step that must change. The key is that the analysis happens while the order is still in the factory, where correction is cheap, rather than after arrival, where it is only compensation.
Corrective action closes the loop: a defined change, an owner, a deadline, and verification. If the root cause was tension, the correction is a tension check at the start of each shift, verified by the line QC for two weeks. If the root cause was a material substitution, the correction is a material release procedure that requires the approved swatch at the cutting table. Each correction is verified on the next order — the defect register shows whether the category actually dropped. This loop — measure, classify, analyze, correct, verify — is the engine of quality improvement, and it is the difference between a brand that gets better and a brand that just gets inspections.
Scaling QC as Your Brand Grows
A quality system that works for one product and one factory needs reshaping as the brand grows: more styles, more orders, more factories, and a team that is no longer the founder checking everything personally. Scaling QC means moving from heroics to structure, in four steps.
The first step is codifying the system into a brand quality manual. Every policy, template, checklist and procedure used today is documented once, so any new team member or new factory partner can follow the same process without reinventing it. The manual is also the basis for onboarding new factories — a factory that receives your manual and your QC plan template before the first order starts two steps ahead. The second step is adding capacity through third-party inspection partners: a vetted inspection agency that performs final inspections per your standards, files reports you can read remotely, and can also run factory audits. This converts your QC from a personal activity into a scalable service, and the cost — typically a fraction of the order value — is repaid by the defects it stops.
The third step is building a defect database across orders and factories. Once the data spans multiple styles and suppliers, it becomes strategic: it shows which factories need more audits, which styles have recurring problems, and which standards need tightening. The database is the difference between knowing your quality and believing it. The fourth step is regular quality reviews with leadership: a quarterly review of defect trends, top issues, corrective actions and factory scores, where quality is discussed with the same discipline as sales. Brands that skip the review let quality become an invisible cost; brands that review it keep it under control while they grow.
The sequence matters: codify before you delegate, inspect before you scale, measure before you judge. A brand that scales inspection without codifying standards gets inconsistent results; a brand that codifies without measuring gets no improvement. Structure first, then growth — that is the path from a founder checking bags in a warehouse to a brand whose quality is built into every order.
Common QC Setup Mistakes and How to Avoid Them
Quality control programs fail in recognizable patterns, and knowing the patterns lets a brand build the system right the first time.
Mistake 1 — Inspecting without standards. Running final inspections without a written spec and approved samples produces reports that are hard to act on and disputes that are impossible to resolve. The standard must exist before the inspection; the inspection only measures against it. Mistake 2 — Delegating without verifying. Trusting the factory’s QC report alone, or trusting a third party without reviewing its work, turns quality control into an expense with no oversight. The brand must read reports, ask questions and verify evidence — remotely, but actively.
Mistake 3 — Starting too late. Quality decisions made at final inspection are the most expensive ones available. The system works backward from the standard: the spec, the samples, the materials, the inline checks, and only then the final gate. Brands that start at the gate pay for every mistake they could have prevented earlier. Mistake 4 — Reacting instead of recording. Handling each defect as a one-off event, negotiating each failure away, and never writing anything down guarantees the same defects next order. The defect register is what turns painful lessons into a system that improves.
The common thread is structure: standards before inspections, verification before trust, and data before decisions. A brand that builds the structure once has quality control; a brand that skips it has a series of expensive surprises.
FAQ
Do I need a third-party inspection for every order?
Not necessarily, but it is the safest default until your defect data says otherwise. For new factories and new styles, third-party inspection on every order is strongly recommended; for established partners with a clean defect history, you can move to random inspections or inline checks with periodic full inspections. Let the data decide, and never skip inspection on a first order.
How much does quality control cost?
A third-party final inspection typically costs a small fraction of the order value, plus travel fees where applicable. Inline checks and audits add their own fees. The honest calculation compares this cost against the cost of defects — replacements, returns, discounts and reputation — which routinely runs several times higher. Quality control is one of the few costs that pays for itself.
What is the difference between an audit and an inspection?
An audit evaluates the factory’s systems and capability — its processes, equipment, staff, records and compliance — and typically happens once per factory per year. An inspection evaluates a specific batch of goods against your standards and happens per order. The audit says whether the factory can produce to your standards; the inspection says whether this order did.
Can the factory’s own QC be trusted?
The factory’s QC is essential — it catches defects during production that no outside inspector can see — but its incentives are not identical to yours. The professional approach is to use the factory’s QC for inline checks and your own (or a third party’s) for the final verdict. The two systems are complementary, not either-or.
What happens if the final inspection fails?
The defined response is rework: the factory repairs the failed pieces, and a re-inspection verifies the fix, usually with the costs and the second inspection fee on the factory. If defects are too extensive for rework, the batch may be sorted, discounted, or rejected. The QC plan should state the procedure before it happens.
How do I set AQL levels for my brand?
Start from the industry convention — critical defects never accepted, major defects at AQL 1.0-2.5, minor at 2.5-4.0 — then tighten or relax based on your market and your data. Premium retail lines typically tighten; promotional lines may relax. Review the settings quarterly against your returns and customer complaints.
Do I need a quality manual as a small brand?
You need the documents that run your orders — the policy, the QC plan template, the inspection checklist — even as a small brand. Whether they are bound as a manual is a matter of organization, not size. Codify early; it is far easier to document one product than to reconstruct a decade of habits later.
Can I do quality control remotely?
Yes, and most brands do. The system is built on documents, evidence and third-party partners: the QC plan travels with the order, the factory records inline checks with photos and checklists, the third-party inspector files a report, and you review everything remotely. What remote cannot replace is the initial factory audit — do that one in person or through a trusted partner.
Next Steps: From Policy to Partnership
Setting up quality control is a sequence of decisions, each building on the last. Start with the one-page quality policy, then build the QC plan template, write the spec for your first order, define the AQL settings, choose your inspection points and your inspection partner, and run the defect loop after every order. Within two or three orders the system is running; within a season you will see the pattern in your data and the improvement in your goods.
Working with a factory that welcomes your system makes the difference between paperwork and partnership. A good manufacturing partner will help you define realistic tolerances, will share its own defect data, and will treat your QC plan as a tool for making your relationship stronger — not as a burden. The right partner does not resist inspection; it prepares for it.
Looking for a PU leather bag manufacturer with a serious quality system behind every order? Contact our team at info@gionar.com to discuss your QC plan and production needs.
Related reading: our custom bag manufacturing portfolio shows the quality process in action across our production lines.