Every custom bag begins as an idea and ends as a carton on a dock — and between those two points lies a manufacturing process with eight distinct stages. Most buyers see only the first conversation and the final shipment; everything in between is a black box that decides whether the product arrives on time, on standard and on budget. Understanding that black box is not factory trivia. It is how you set realistic timelines, spot problems before they become expensive, and communicate with your manufacturer in terms that get results.
This guide walks through the complete custom bag manufacturing process, stage by stage, exactly as it happens in a professional factory: design and technical specification, pattern making, material sourcing, sampling, production planning, cutting, sewing and assembly, quality control, and finally packing and shipping. At each stage you will learn what happens, what can go wrong, what the buyer should check, and how long it realistically takes. Written from the factory floor, it is the map you want in hand before your first order — and the reference you will return to for every order after.
- Stage 1 — Design and Technical Specification
- Stage 2 — Pattern Making and Prototyping
- Stage 3 — Material Sourcing and Approval
- Stage 4 — Sampling and Approval
- Stage 5 — Production Planning and Cutting
- Stage 6 — Sewing, Assembly and Hardware
- Stage 7 — Quality Control and Inspection
- Stage 8 — Packing, Shipping and Delivery
- FAQ
Stage 1 — Design and Technical Specification
The process begins before any material is ordered: the design must be translated into a document the factory can build from. That document is the technical specification — the tech pack — and its quality determines the quality of everything that follows.
A complete tech pack for a bag includes several layers of information. The visual layer: front, back and side views, interior layout, and detail shots of closures, straps and hardware. The dimensional layer: every measurement — length, width, depth, strap length, handle drop, pocket sizes — with tolerances. The materials layer: the main material (type, thickness, color reference), the lining, the hardware (style, finish, material), thread and zippers, each identified by reference or sample. The construction layer: stitching type and density, seam allowances, edge treatment, reinforcement at stress points, logo and label placement. And the quality layer: the standards the finished product must meet, from stitch quality to hardware function to defect tolerance.
For first-time buyers, the encouraging news is that the tech pack is a collaboration, not a test. A professional factory’s development team will work from your sketches, reference images and measurements to build a complete specification with you — asking questions that sharpen the design: What is the intended load? Which shoulder or hand carry? What is the retail price point, and therefore the material budget? The factory’s questions are the first quality signal of the entire project; a factory that asks none is likely to build exactly what you wrote, including what you forgot.
The deliverable of this stage is an agreed specification document, ideally signed by both sides, because it becomes the reference for every later stage — pattern, sampling, materials, production and inspection. Time investment at this stage pays back disproportionately: one hour spent clarifying the specification prevents days of sampling corrections and a production batch built to the wrong standard.
Stage 2 — Pattern Making and Prototyping
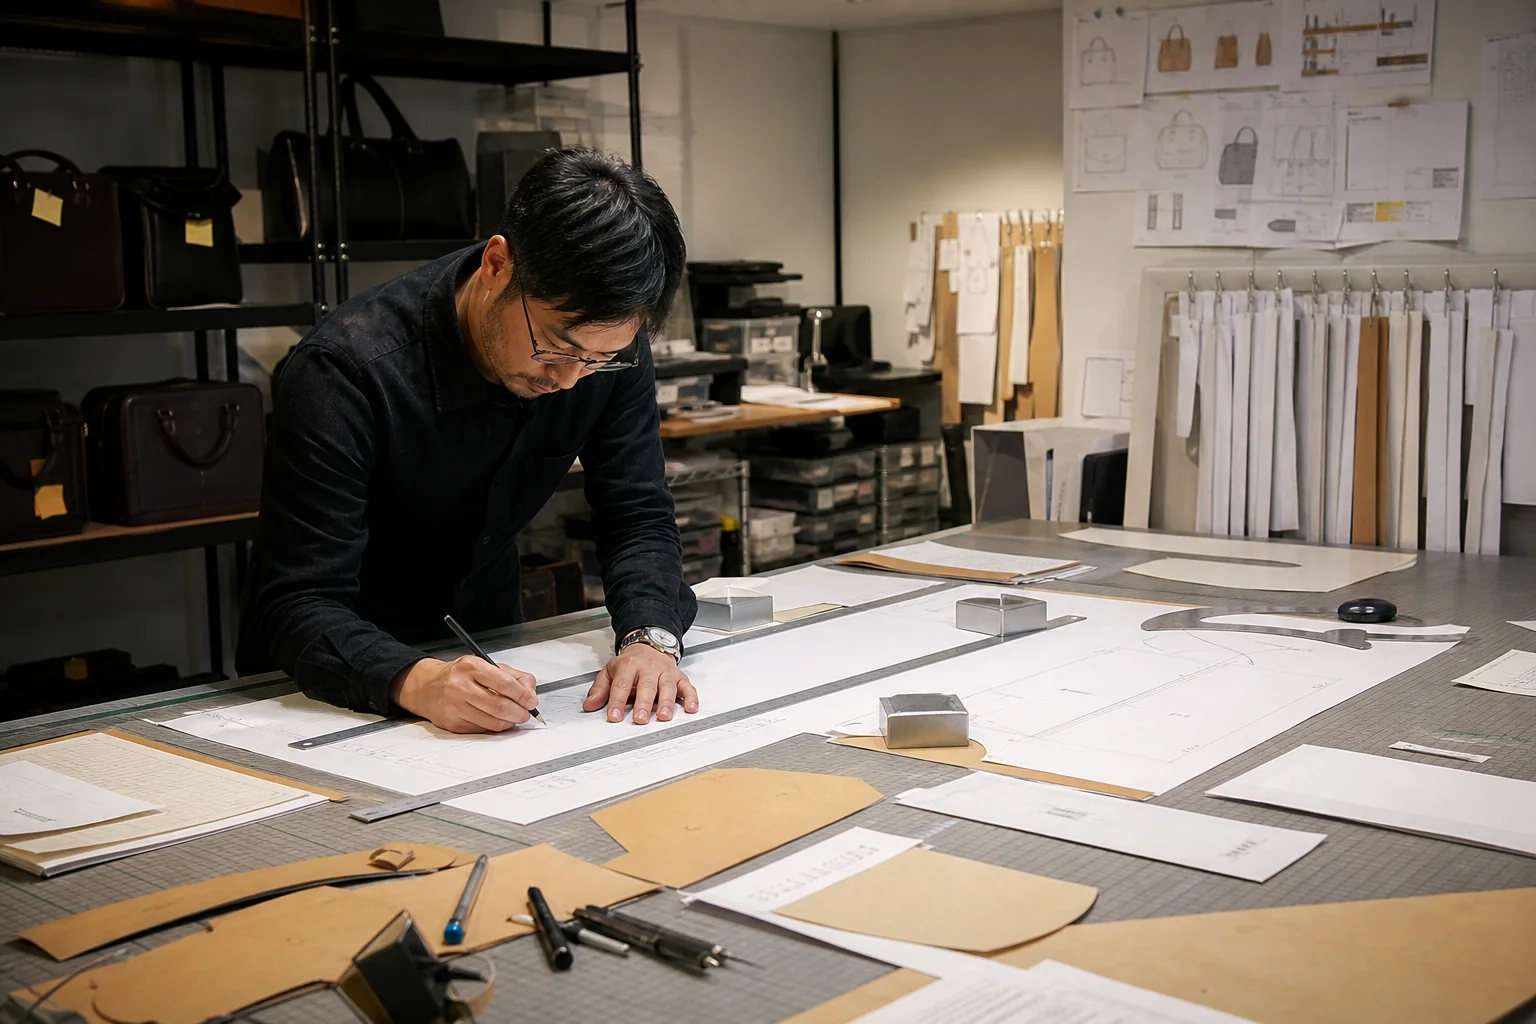
With the specification agreed, the pattern engineer converts the design into production patterns — the precise two-dimensional shapes that will be cut from material and sewn into the three-dimensional bag. Pattern making is where the design’s feasibility is truly tested: whether the materials can form the intended curves, whether the seam lines will meet cleanly, whether the hardware will seat correctly, and how much material each bag will consume.
Pattern development involves several passes. The engineer drafts the master pattern, builds a test version — often in a cheaper material such as calico or an economy fabric — to check proportions and construction logic, then refines the pattern based on how the test piece behaves. The refined pattern is graded, if needed, into the sizes your line requires. Along the way the engineer makes critical technical decisions that the buyer rarely sees: seam allowances, which seams are stitched before assembly, where reinforcement is needed, and how the lining and main material are joined.
Two things matter to the buyer at this stage. First, the pattern determines material consumption, which is a direct cost driver — a pattern that wastes material can add meaningfully to your unit cost. Ask how the pattern was optimized for material yield. Second, the pattern is intellectual property: in an OEM project it belongs to you, and it must be recorded, stored and protected as part of your tech pack. A factory that treats patterns as a routine deliverable is doing its job; make sure the ownership is written into the agreement so the pattern travels with your project.
The pattern stage concludes with the development prototype — the first physical realization of your design, built to verify the construction approach before any production-grade materials are committed. Expect the prototype to reveal issues: a strap that sits too high, a corner that puckers, a pocket that is tighter than the sketch suggested. That is the purpose of the stage. Every problem found here costs minutes; the same problem found at production costs a batch.
Stage 3 — Material Sourcing and Approval
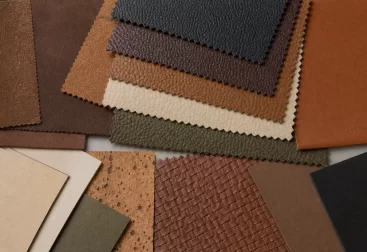
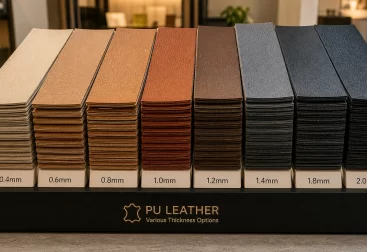
Materials are the largest cost component of a bag and the largest source of variation between orders. The sourcing stage selects and locks every material the product needs: the main material, the lining, the hardware, the thread, the zippers, the labels and the packaging.
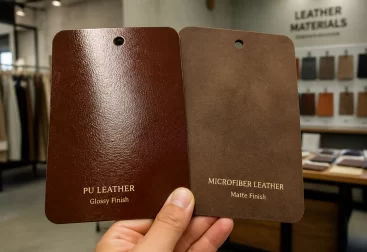
The sourcing process starts from the specification: material type, thickness, color reference and performance requirements. The factory’s sourcing team — or you, if you supply materials — then qualifies suppliers: requesting swatches, verifying performance data, checking availability and lead times, and negotiating price. For custom colors, the process adds a color matching stage, where the mill adjusts dye formulations until the material matches your reference under agreed lighting. Color matching typically requires one to three iterations, each taking days, which is why custom colors are a scheduling factor, not just a styling choice.
Three disciplines protect the buyer at this stage. First, approval: every material should be approved against a physical reference before production — the approved swatch is the standard, and it should be sealed and kept for comparison against incoming bulk material. Second, documentation: record every material by reference code, supplier and specification, so reorders reproduce the same product; a material described only as “same as last time” is a risk, not a specification. Third, verification: for materials that carry claims — recycled content, bio-based content, substance compliance — request the certificates at sourcing time, not at audit time, and check that they name your supplier and your material.
Lead times deserve attention here. Standard materials are usually available within days to weeks; custom colors, special finishes and plant-based materials can take weeks more. The sourcing stage is where most realistic production schedules are actually determined, so the materials plan should be fixed early — changing a material after production planning begins cascades delay through every later stage.
The stage concludes with a materials approval sheet: every component listed, with its reference, supplier, approved swatch and certificate file. This sheet becomes part of the tech pack and the order contract — and it is the document you will reach for when the second order must match the first.
Stage 4 — Sampling and Approval
Sampling is the bridge between design and production — the stage where the product is proven, corrected and locked before a single bulk unit is cut. Most custom bag projects run through several sample types, each with a distinct purpose.
The development sample is the first working version, built from the prototype patterns to test materials, construction and proportions together. Corrections here are expected and valuable: the sample reveals how the real material drapes, how the hardware sits, where stress concentrates. The factory’s sample room is where most of the design’s remaining problems are solved — a good factory treats sample corrections as engineering, not as complaints.
The approval (sales) sample follows: the corrected sample that represents the final product, built from production materials and hardware. This is the sample you photograph, show to retailers, and use as the sealed quality reference for production. Its approval is a milestone — once signed off, the approval sample defines the product, and deviations from it in production are defects by definition.
The production (PP) sample closes the loop: the first piece off the actual production line, confirming that the line setup, the operators and the production materials reproduce the approved sample at scale. Many buyers skip the PP sample to save time; professionals never do, because the PP sample is the cheapest insurance against a full batch built slightly differently from what was approved.
Budget for two to four sampling rounds in your timeline and cost plan. Each round takes from several days to two weeks, depending on factory load and material availability. The sampling stage is also where the buyer’s involvement matters most: review each sample against the specification promptly, document every requested change in writing, and never approve a sample you are not prepared to receive in bulk — the approval signature is the contract for production.
Stage 5 — Production Planning and Cutting
With the sample approved and materials locked, the project moves into production planning: the factory schedules the order against its capacity, orders and receives the bulk materials, and prepares the production line. This is the stage where timelines become commitments and where the buyer’s schedule is finally fixed.
Production planning involves several parallel tracks. The production schedule allocates line capacity, sewing stations and labor to the order, and sets the completion date against which every later commitment is measured. The materials plan confirms that all components — main material, lining, hardware, thread, zippers, labels — will arrive in time, in the right quantities, with the approved quality. The production documents translate the approved sample into line instructions: cutting markers, sewing sequence, quality checkpoints, packing standards.
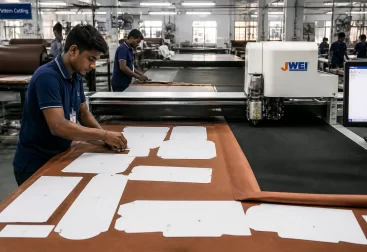
Cutting is the first physical production step: the markers are laid out on the material and the panels are cut — by hand for small runs or custom shapes, by automated cutting machines for larger orders. Cutting is where material yield and defect control begin: a well-optimized marker reduces waste, and careful cutting avoids pulling defective areas of the roll into the product. The buyer’s checkpoints at this stage are incoming material inspection (verify thickness, color and quality against the approved references before cutting begins) and confirmation of the production schedule (agree on the inspection points and the completion date in writing).
One production-planning reality every buyer should understand: factory capacity is shared. Your order competes for line time with the factory’s other clients, and the schedule you are quoted reflects current load. A factory that promises impossibly fast delivery is either under-committing quality or over-committing capacity; a professional schedule is realistic, published in writing, and met because it was built honestly from the start.
Stage 6 — Sewing, Assembly and Hardware
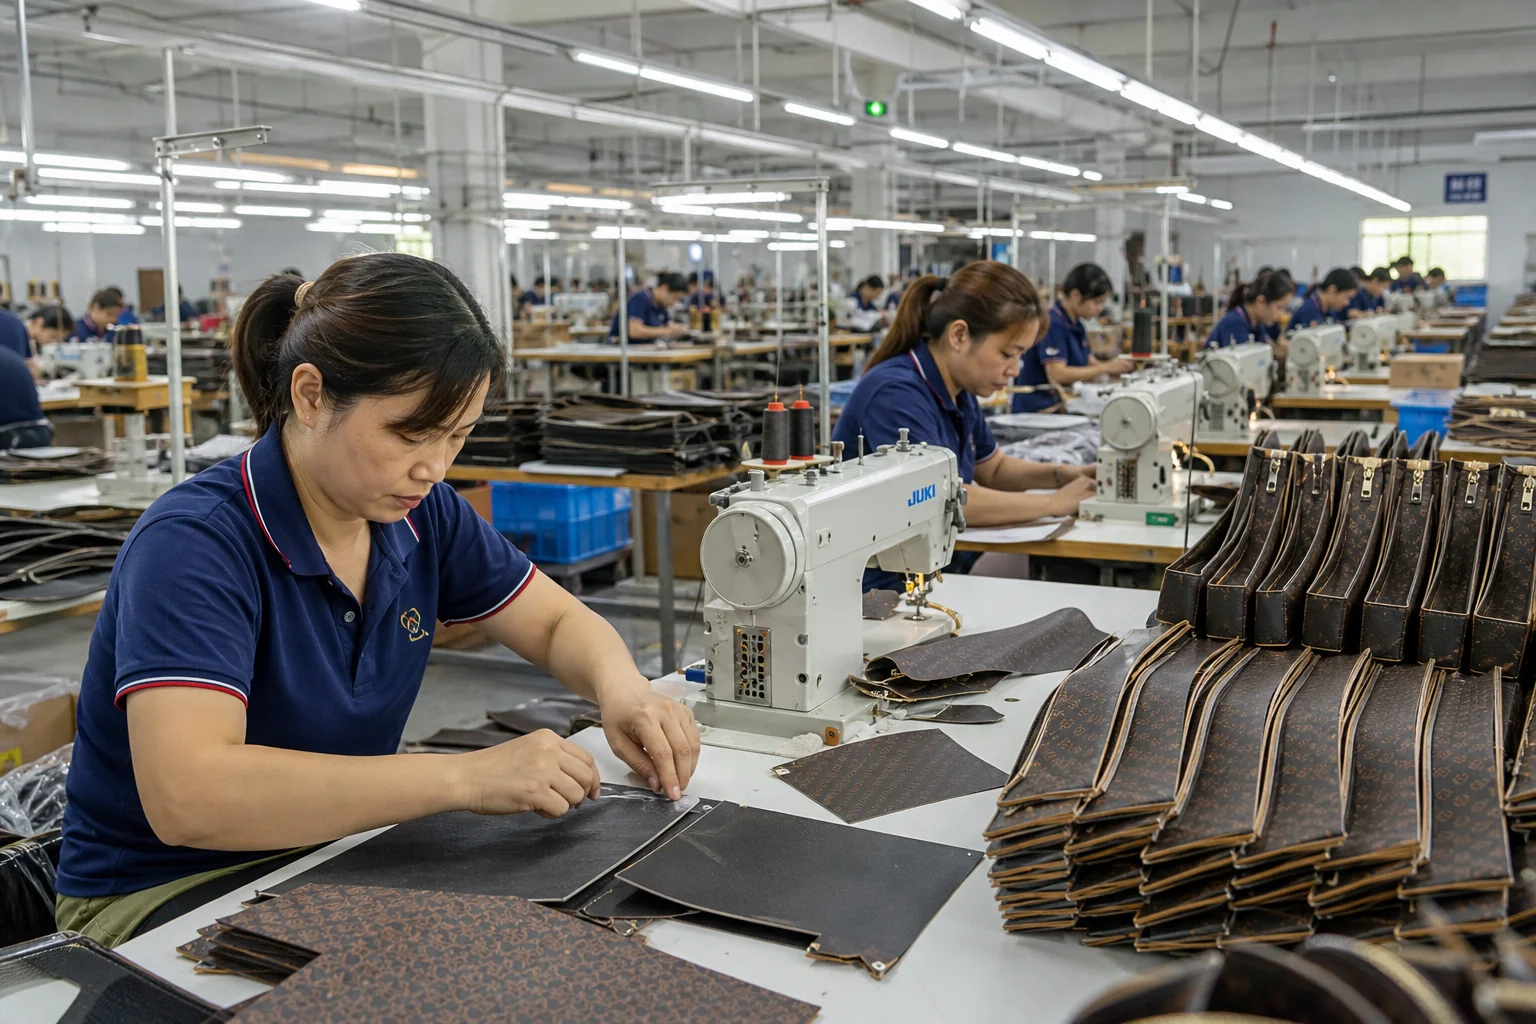
Cutting produces panels; sewing turns them into bags. The sewing and assembly stage is the heart of bag manufacturing — where construction quality is made or lost, and where the skills of the factory’s operators become visible in every stitch.
Production runs as a sequence of operations, each performed by a dedicated station: panel preparation (fusing, edge treatment, pocket construction), main assembly (joining the body panels), lining assembly, joining lining to outer, hardware installation (zippers, buckles, rivets, magnetic snaps, D-rings), strap and handle construction and attachment, and final finishing (label attachment, edge painting, cleaning and inspection). Each operation has a standard method — thread type and tension, stitch length, seam allowance, needle size — defined in the production documents from the approved sample.
Quality at this stage is a function of two things: operator skill and process control. A skilled operator sews consistently; process control ensures consistency across operators, shifts and days. The checkpoints are the inline inspections: the factory’s own QC checks the first pieces as each operation starts, then samples at intervals, looking for the defects that appear in volume — skipped stitches, inconsistent seam widths, puckering, misaligned hardware, zipper function problems. Catching a defect pattern early lets the line correct it while it is cheap; discovering it at final inspection means rework or worse.
For the buyer, the sewing stage is where construction quality becomes observable. If your agreement includes mid-production inspection — and it should — this is the stage to exercise it: walk the line, pull random pieces, and compare them against the approved sample. The questions that matter are specific: Is the stitch density consistent? Are the seams aligned? Does the hardware seat firmly? Is the edge treatment clean? You do not need to be a production expert to see a line running in control; you need to look, and to know what the approved sample looks like.
The stage concludes with finished bags — assembled, finished, cleaned — ready for the quality control stage that protects the shipment.
Stage 7 — Quality Control and Inspection
Quality control is not a single moment at the end — it is a system of checks that runs through production, with the final inspection as its last gate. A professional factory operates multiple layers of QC, and the buyer participates at the layers that matter most.
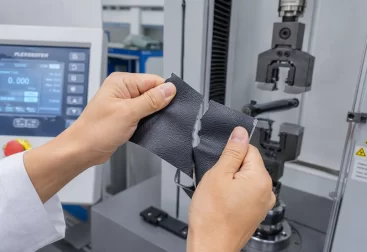
The first layer is incoming inspection: bulk materials are checked against the approved references before they enter production. The second layer is inline QC, described above: operators and QC staff check work in progress against the standard, catching and correcting defects as they form. The third layer is final inspection: finished goods are examined against the approval sample and the specification, usually under an AQL (Acceptance Quality Limit) sampling plan — commonly AQL 2.5 for major defects and 4.0 for minor defects, with the sample size and acceptance numbers defined by the plan. The fourth layer is pre-shipment inspection, often performed by an independent third-party inspector appointed by the buyer, who verifies the shipment against the same AQL standard and issues a report.
Defects are classified by severity — critical (unsafe or nonfunctional), major (visible, affects use or appearance), minor (cosmetic, within tolerance for the category) — and the AQL plan determines how many of each are acceptable in a lot. The inspection verdict is not an opinion: it is a count against a standard, which is why the AQL level should be agreed at contract stage, before the first inspection, not negotiated over the first report.
For the buyer, the quality stage is where the value of everything done earlier is collected. A complete specification and approved sample make inspection objective — pass or fail is a measurement. Inspection records and photos become the evidence base for accepting the shipment, requesting rework, or rejecting non-conforming goods. The discipline to practice: never skip the pre-shipment inspection on a first order, never accept a shipment without its inspection report, and keep the records — they are your protection if problems appear at retail months later.
Stage 8 — Packing, Shipping and Delivery
The final stage turns finished goods into a delivered order: packing, documentation, freight and arrival. It is the stage where timelines are actually met or missed, and where the costs that surprise first-time importers live.
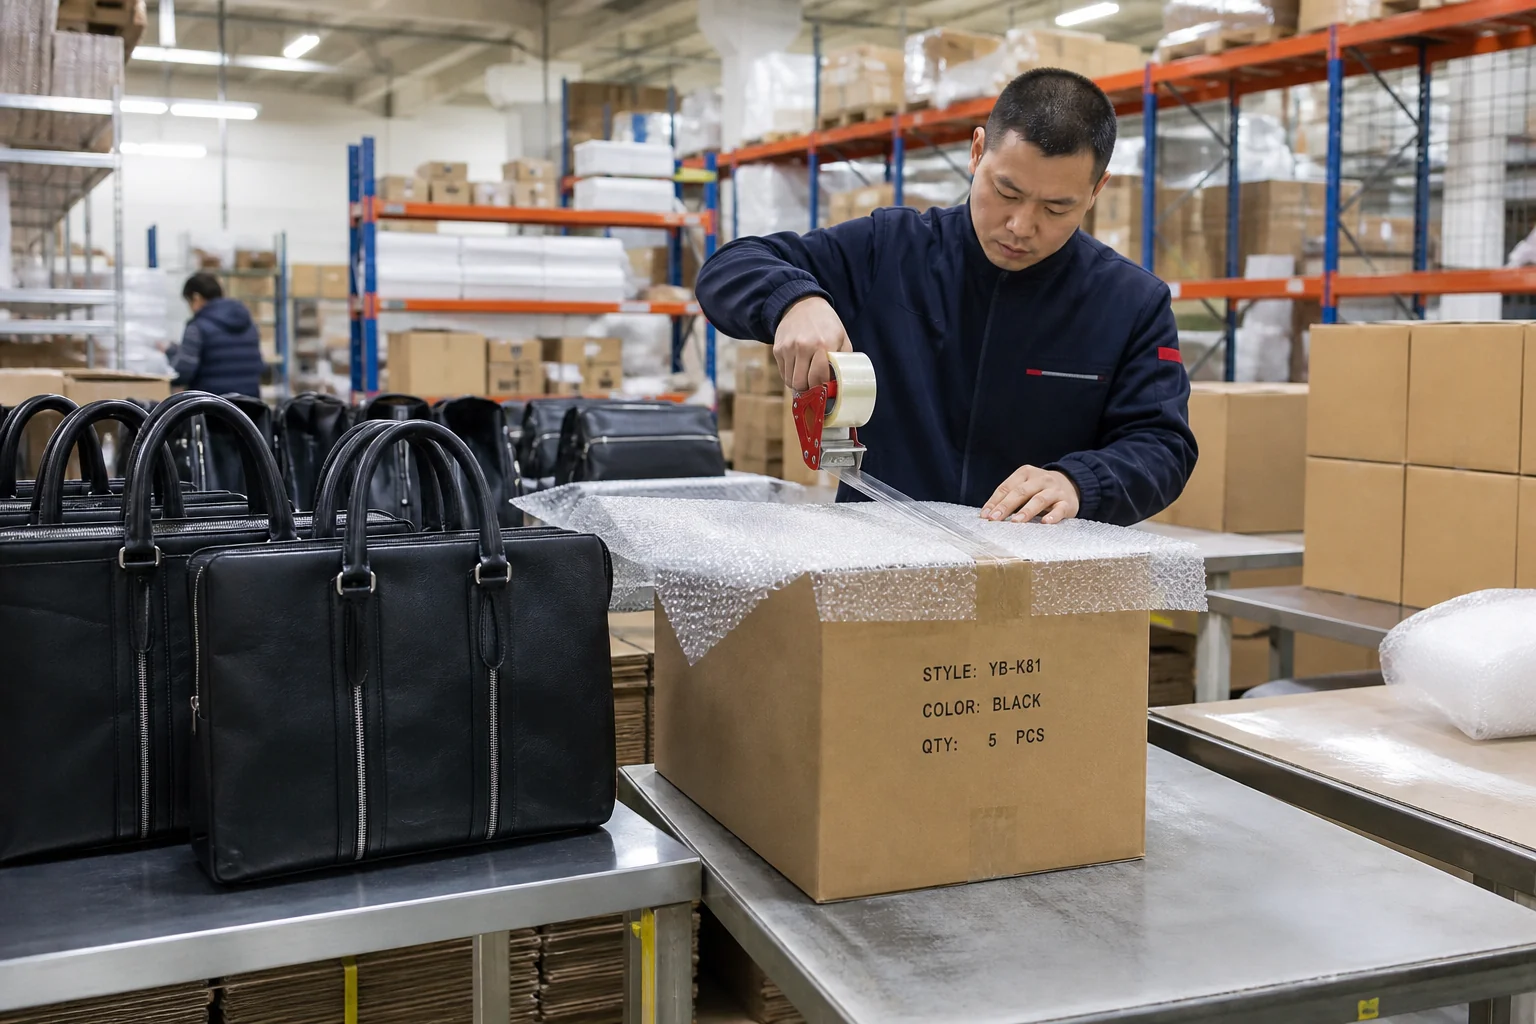
Packing starts with the unit packaging — polybags, tags, hang labels, sometimes tissue and boxes — then the cartons: quantities per carton, carton dimensions and weights, carton markings (style, color, quantity, destination), and the palletization for container loading. Packing standards should be defined in advance: they affect freight cost (carton dimensions and weight), customs clearance (marking accuracy) and the condition of goods on arrival (protection quality). A professional factory has documented packing standards; a buyer who specifies them explicitly removes a whole class of surprises.
Documentation follows: the commercial invoice, packing list, and the certificates required by the destination market (origin certificate, material declarations, compliance documents). The accuracy of these documents decides whether customs clearance is smooth or delayed — a common first-order failure is documentation that does not match the shipment, causing holds and fees.
Shipping is governed by the Incoterms you agreed — FOB, EXW, CIF and the rest — which define where cost and risk transfer from factory to buyer, and who arranges and pays for freight, insurance and clearance. The shipment itself moves by sea (most common for bags: cost-efficient, weeks in transit), air (fast, expensive, for urgent or high-value orders) or express courier (small orders, samples). For first orders, plan the transit time into your launch calendar with a buffer — a container delayed by port congestion is a normal event, not a failure, and the brands that survive it are the ones that scheduled for it.
The stage ends with the order delivered: goods inspected on arrival, documentation reconciled, and the order file — tech pack, approvals, inspection reports, invoices — archived for the reorder that every successful product earns.
How Long Each Stage Takes: A Realistic Timeline
Timelines are the most common source of friction between buyers and factories — not because either side is unreasonable, but because the stages take different amounts of time than first-time buyers expect. The table below shows realistic ranges for a typical custom bag order, from brief to shipment.
| Stage | Typical duration | Key variable |
|---|---|---|
| 1. Design and tech pack | 3–7 days | How complete your brief is |
| 2. Pattern making and prototype | 5–10 days | Design complexity, revision rounds |
| 3. Material sourcing and approval | 5–15 days | Custom colors, special materials |
| 4. Sampling and approval | 10–20 days | Number of sample rounds |
| 5. Production planning and cutting | 3–7 days | Factory load, material arrival |
| 6. Sewing and assembly | 10–20 days | Order size, bag complexity, line capacity |
| 7. Quality control and inspection | 2–5 days | Inspection scheduling, rework if needed |
| 8. Packing and shipping | 3–7 days packing + transit | Freight mode: sea 2–5 weeks, air 3–7 days |
Add the ranges and you arrive at roughly eight to twelve weeks from brief to arrival for a sea-freight first order. Three observations make the timeline manageable. First, the stages are partly sequential — materials must be approved before sampling with production materials, and the approved sample must precede production — so delays in early stages compound into later ones. Fix the specification and materials early and you protect the whole schedule. Second, some work runs in parallel: while sampling proceeds, the factory can confirm material availability and reserve line capacity, and packaging can be designed and ordered. A factory that manages this parallelism well protects your dates even when individual stages slip. Third, the timeline is negotiable at a cost: expediting sampling, air-freighting materials or splitting the shipment can compress the schedule, but each option adds cost and risk, and the professional approach is to decide deliberately — not to discover at week six that the launch date requires a miracle.
Use the table when you plan: map your launch date backwards, add a buffer at every stage, and confirm the schedule in writing with the factory at order confirmation. A schedule agreed in writing is a commitment both sides can manage; a schedule assumed in silence is a disappointment waiting to happen.
FAQ
How long does the full custom bag process take?
Realistically eight to twelve weeks from brief to shipment for a first order: specification and sampling take several weeks, material sourcing adds time, production typically runs two to four weeks, and sea freight adds transit time. Plan backwards from your launch date with a buffer.
How many samples will I need?
Typically two to four rounds: a development sample, an approval (sales) sample, and a production (PP) sample. Each round validates a different layer — construction, final appearance, and production-line reproduction — and skipping rounds saves days but risks batches.
Who owns the patterns and tech pack?
In an OEM project, you — when the agreement says so. Design ownership, pattern ownership and confidentiality should be written into the contract before development begins. Never assume ownership from the term “custom” alone.
What is AQL and why does it matter at final inspection?
AQL (Acceptance Quality Limit) is the sampling standard defining how many defective pieces per hundred are acceptable (commonly 2.5 major / 4.0 minor for bags). It makes inspection objective and should be agreed before production, not debated over the first report.
Can I visit or inspect during production?
Yes — and for a first order you should. Schedule a mid-production inspection to see the line running, or appoint an independent inspector. Professional factories publish production milestones and welcome verification; that openness is itself a quality signal.
What causes most first-order delays?
Unrealistic schedules (compressed sampling), late material decisions (custom colors and special materials), and documentation errors at shipping. All three are preventable: fix the specification early, lock materials before planning, and verify documents before the goods move.
How do I keep reorders consistent?
Archive the complete order file: tech pack, approved samples, materials sheet with references, inspection records and certificates. A reorder then reproduces the product by reference — and deviations are measurable instead of arguable.
Can I supply my own materials to the factory?
Yes — many brands supply main materials or hardware to control quality or cost. If you do, the factory still needs approval swatches and test data, and you carry the risk for material defects. The specification and approval process is identical; only the supplier changes.
What should I check when the goods arrive?
Verify the carton counts against the packing list, inspect a sample against the approval sample, check for transit damage, and confirm the documents (invoice, packing list, certificates) match the shipment. Report discrepancies to the factory and your forwarder promptly — timing affects claims.
Next Steps: Turn the Process into Your Plan
The eight-stage process is the same for every custom bag project — what differs is how well it is managed. The brands that ship on time and on standard are not luckier; they run the process deliberately: specification first, patterns owned, materials locked, samples approved in writing, inspections scheduled, documents verified. Each stage has its checkpoints, and every checkpoint is a chance to catch a problem while it is still cheap.
Apply the process to your next order as a checklist, not a description. Before you brief a factory, confirm you can answer the eight questions the stages will ask: What is the complete specification? Who owns the patterns? Which materials, with which references? What does the approved sample look like? When is production scheduled? What are the inspection points and AQL levels? What are the packing and documentation standards? And when, in writing, is delivery? A brief that answers all eight produces a smooth first order; a brief that answers four produces surprises. The difference between the two is a few hours of planning — the cheapest quality investment in the entire process.
Ready to move your bag from sketch to shipment? Contact info@gionar.com with your design brief for a free process consultation and quotation. Explore our custom bag manufacturing services and custom backpack manufacturing to see the full process in practice — from first sketch to sealed carton.